DIY Tiered Rock Waterfall Fountain for Small Gardens
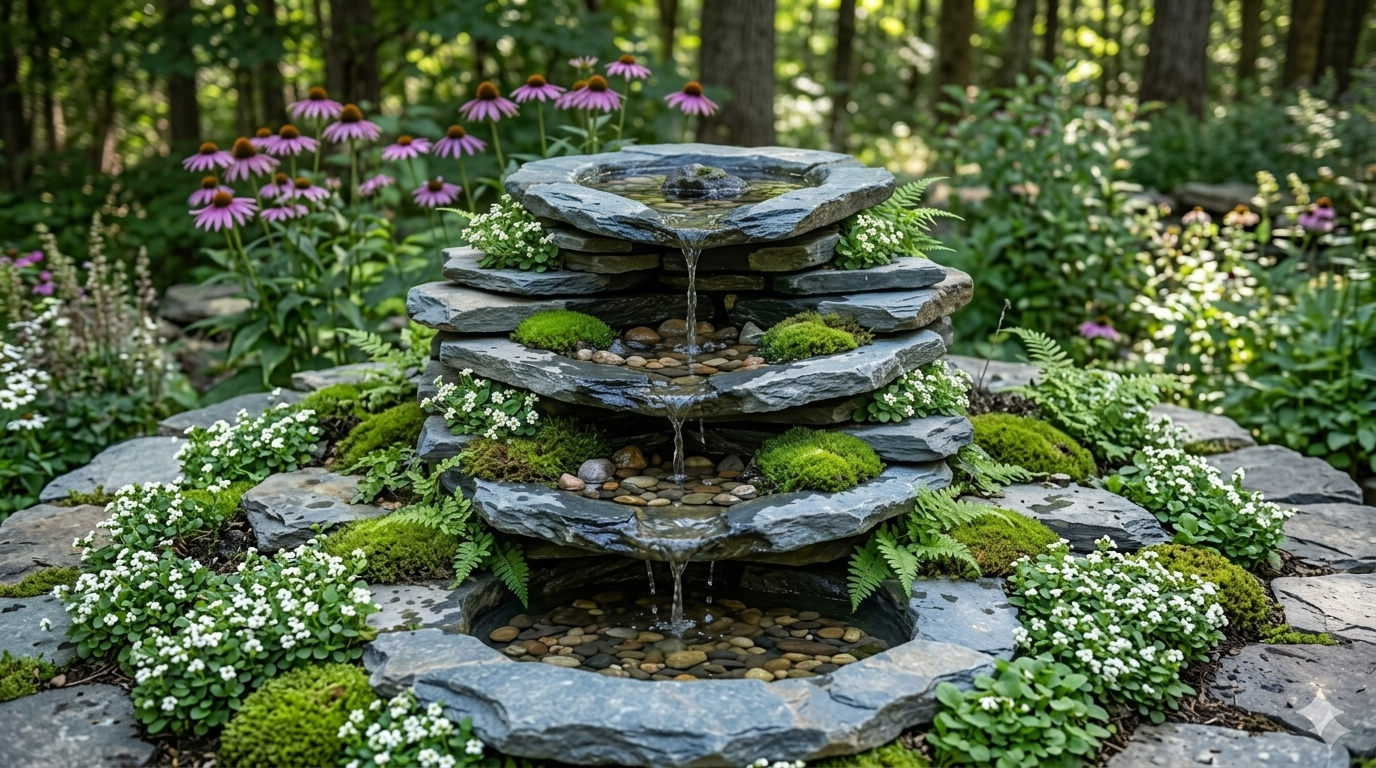
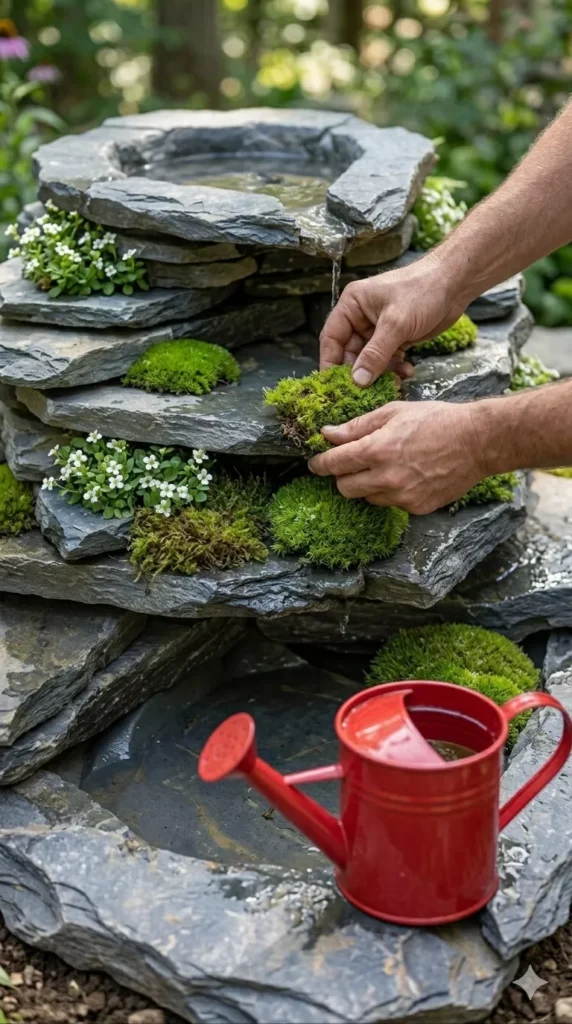
Bring the soothing sound of trickling water to your backyard with this stunning, natural stacked flagstone waterfall fountain. Perfect for small spaces, patios, or empty garden corners, this DIY natural stone water feature uses layered flat rocks, river pebbles, lush moss, and native ferns to create a peaceful, wildlife-friendly garden sanctuary.
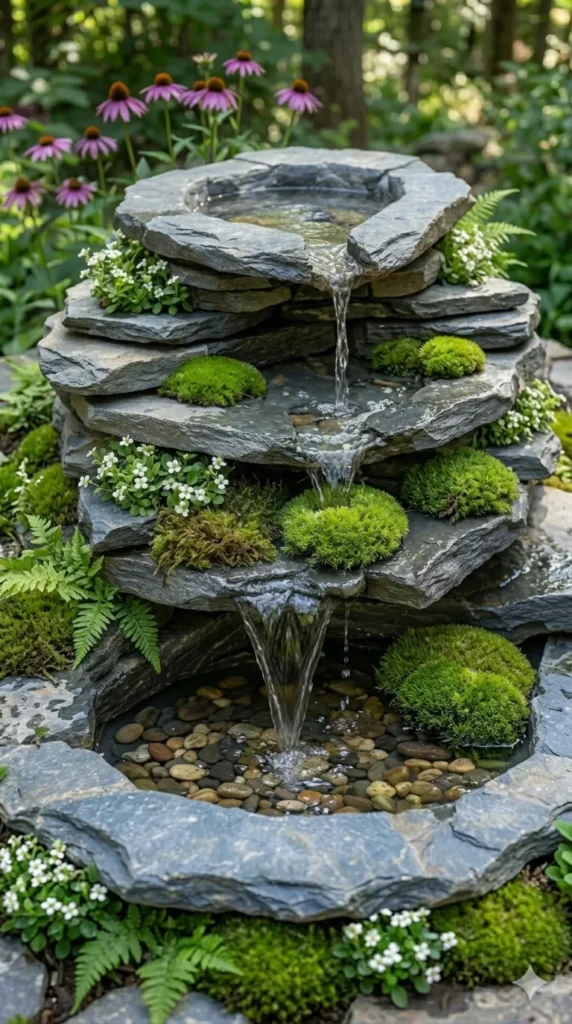
Whether you are looking to build a quiet zen retreat or add a rustic focal point to your backyard landscaping, this complete, easy-to-follow guide will walk you through the entire project over a single weekend.
🛠️ Project Overview & Specifications
| Difficulty | Time Required | Estimated Budget | Key Attraction |
| Intermediate | 1 weekend (4–6 hours) | $150 – $250 (Depending on sourced stone) | Songbirds, Butterflies & Zen Ambience |
📦 Tools and Materials Checklist
To achieve the organic, built-into-nature look shown in the design, gather the following materials before you begin:
The Water System & Basin:
- Heavy-Duty Plastic Tub or Reservoir: A 15 to 20-gallon heavy-duty utility tub or a pre-formed pond basin to act as the underground or low-profile bottom water reservoir.
- Submersible Water Pump: A 250 to 400 GPH (Gallons Per Hour) fountain pump with an adjustable flow control valve.
- Flexible Vinyl Tubing: Matching the diameter of your pump’s outlet (usually 1/2-inch or 3/4-inch ID).
- Pond Underlayment & Liner (Optional): Small scraps of EPDM pond liner to help direct water flow between layers if needed.
The Stone & Landscaping:
- Stacked Flagstone / Slate: 15–20 flat, irregular pieces of flagstone or slate in varying sizes (large for the base layers, medium and small for the upper tiers). Look for pieces with natural indentations or “spouts” to guide the water cascade.
- River Pebbles & Smooth Stones: 1–2 bags of multi-colored river rocks to line the basins and hide internal gaps.
- Black Expanding Pond Foam: 1 can of waterproof, fish-safe landscape foam (used to seal gaps between stones and force water over the front faces rather than leaking out the back).
The Greenery (Zen Garden Accents):
- Live Moss: Sheet moss or cushion moss tucked into stone crevices.
- Native Ferns: Small fern varieties (like Maidenhair or Autumn Fern) planted around the base.
- Groundcover Flowers: Low-growing white accent flowers (such as Sweet Alyssum or Irish Moss) to plant in the side pockets.
📋 Step-by-Step Construction Guide
Step 1: Prep and Bury the Reservoir Basin
- Choose a level spot in your garden, preferably near a safe, outdoor-rated GFCI electrical outlet.
- Dig a hole slightly wider and exactly as deep as your plastic utility tub/reservoir.
- Place the tub in the hole, ensuring the top rim sits about 1 inch above the soil level to prevent dirt and rainwater runoff from washing into your clean system.
- Pack soil tightly around the outer edges of the tub to lock it in place.
Step 2: Install the Pump and Main Tube
- Place your submersible water pump directly on the bottom floor of the reservoir.
- Attach the flexible vinyl tubing to the pump outlet. Cut the tubing long enough so it extends at least 2 feet past the planned top layer of your fountain (you can trim it down later).
- Run the pump’s electrical cord out the back, making sure it stays hidden behind where your rock structure will sit.
Step 3: Lay the Base Foundations
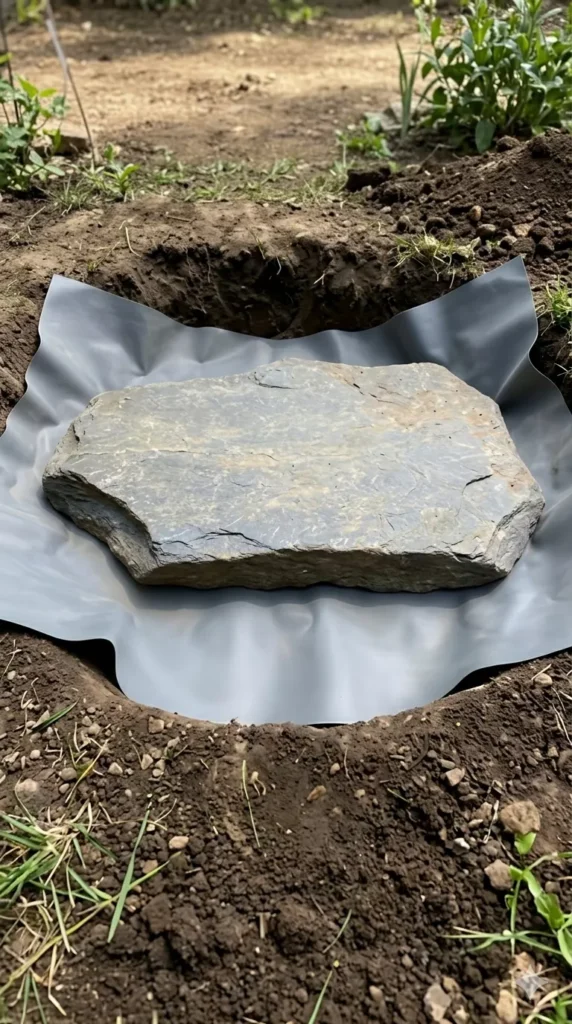
- Lay your largest, flattest stones around and over the back edges of the reservoir tub to build a stable foundation.
- Arrange these structural foundation stones so they rest securely on the solid ground surrounding the tub, ensuring they don’t slide or collapse into the water basin.
- Thread the vinyl tubing up through the center of your rock arrangement as you build.
Step 4: Stack the Tiered Basins (The Cascade)
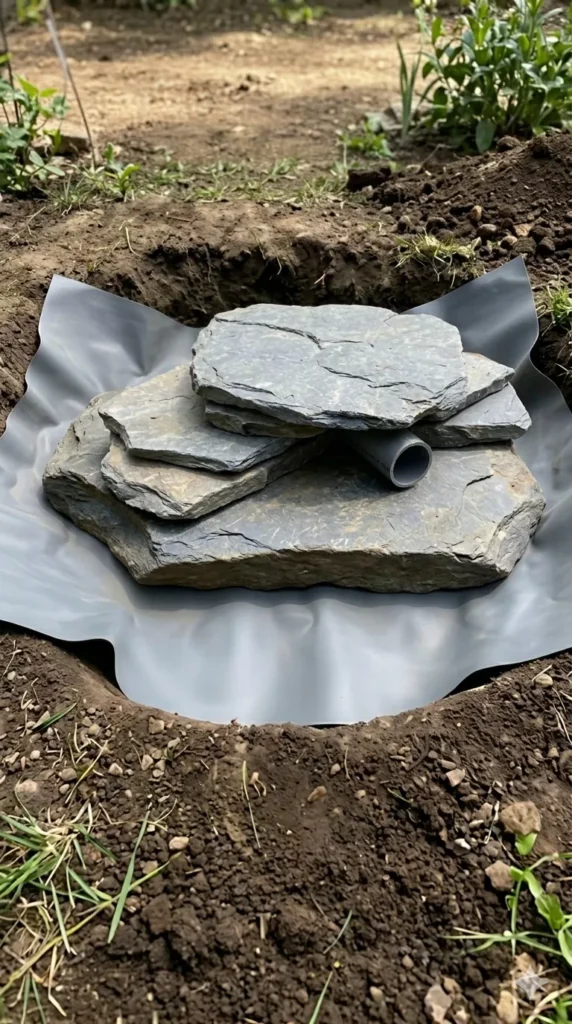
- To create the beautiful tiered levels, stack your medium flagstones in overlapping layers, tapering inward slightly as you go higher to form a pyramid structure.
- Creating the pools: Select flagstones that have natural, shallow depressions to hold water. Position them so the front edge of the top stone sticks out slightly over the stone below it, creating a natural spillway.
- Keep the vinyl tubing hidden right in the middle, running all the way up to the very top stone tier.
Step 5: Secure Gaps with Pond Foam
- Once you are happy with how the rocks balance and cascade, look at the back and sides of the structure.
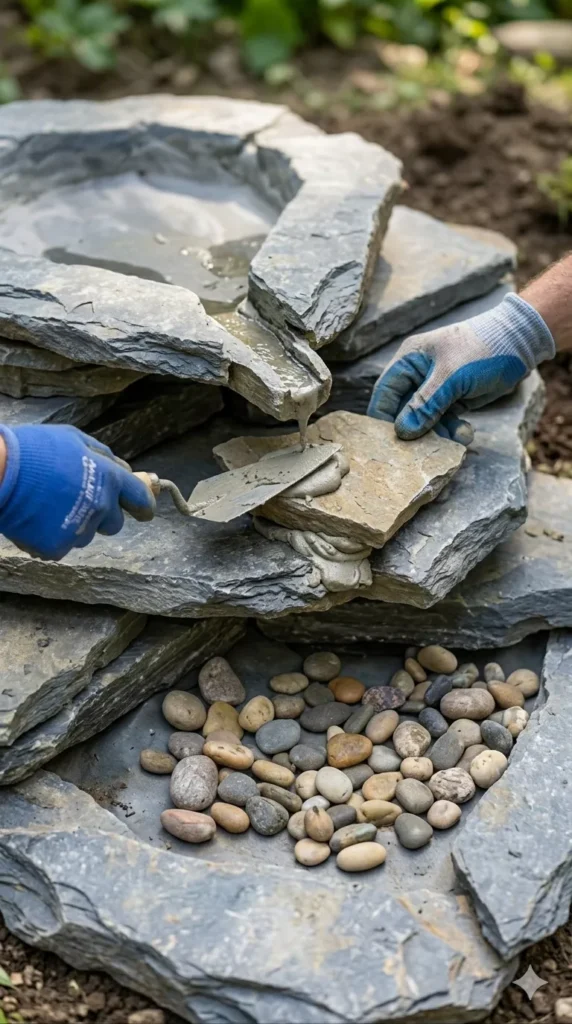
- Fill the hidden cracks and joints between the stones using the black expanding pond foam. This forces the water to travel over the top faces of your spillways rather than disappearing into internal cracks.
- While the foam is still wet, press small river pebbles or handfuls of dirt into it to camouflage the glossy surface. Let it cure fully for 30–45 minutes.
Step 6: Add River Pebbles & Set the Flow
- Fill each shallow rock basin with smooth river pebbles. This slows down the water flow, giving it that soft, trickling sound while hiding the vinyl tube outlet at the top tier.
- Fill the main bottom reservoir tub completely with water.
- Plug in the pump to test the cascade. Adjust the stones or trim the top tube as necessary to get a perfect, splashing sheet of water flowing down the tiers.
Step 7: Soften with Moss and Ferns
- Tuck living sheet moss tightly into the wet crevices between the stacked stone layers.
- Frame the base of your new stone waterfall fountain by planting native ferns and delicate white groundcover flowers into the surrounding soil.
- Place a few extra flagstones around the bottom edge to blend the fountain seamlessly into your natural garden landscaping.
💡 Maintenance & Care Pro-Tips
- Top-Off Regularly: Because small-scale water features have a high surface-area-to-volume ratio, water will evaporate quickly—especially during hot summer days. Check the water level every few days and top it off to keep the pump fully submerged.
- Algae Control: To keep your river rocks looking clean and prevent slippery buildup, add a pet-safe, wildlife-friendly water clarifier to the reservoir once a week.
- Winterization: If you live in a climate with freezing winter temperatures, unplug the fountain, drain the water completely, and remove the submersible pump to store it indoors so ice doesn’t crack your stonework or pump casing.