Transform Your Backyard: Best Rustic Garden Decor & Tiered Terracotta Bird Baths
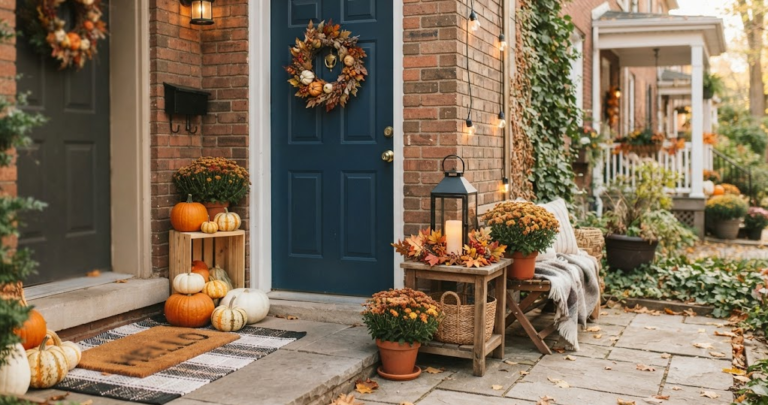
There is something inherently magical about a rustic garden. It’s a space that feels lived-in, cozy, and deeply connected to the natural world. If you’re looking to bring that warm, countryside charm to your own outdoor oasis, nothing quite hits the mark like the perfect combination of weathered textures and wildlife-friendly features.
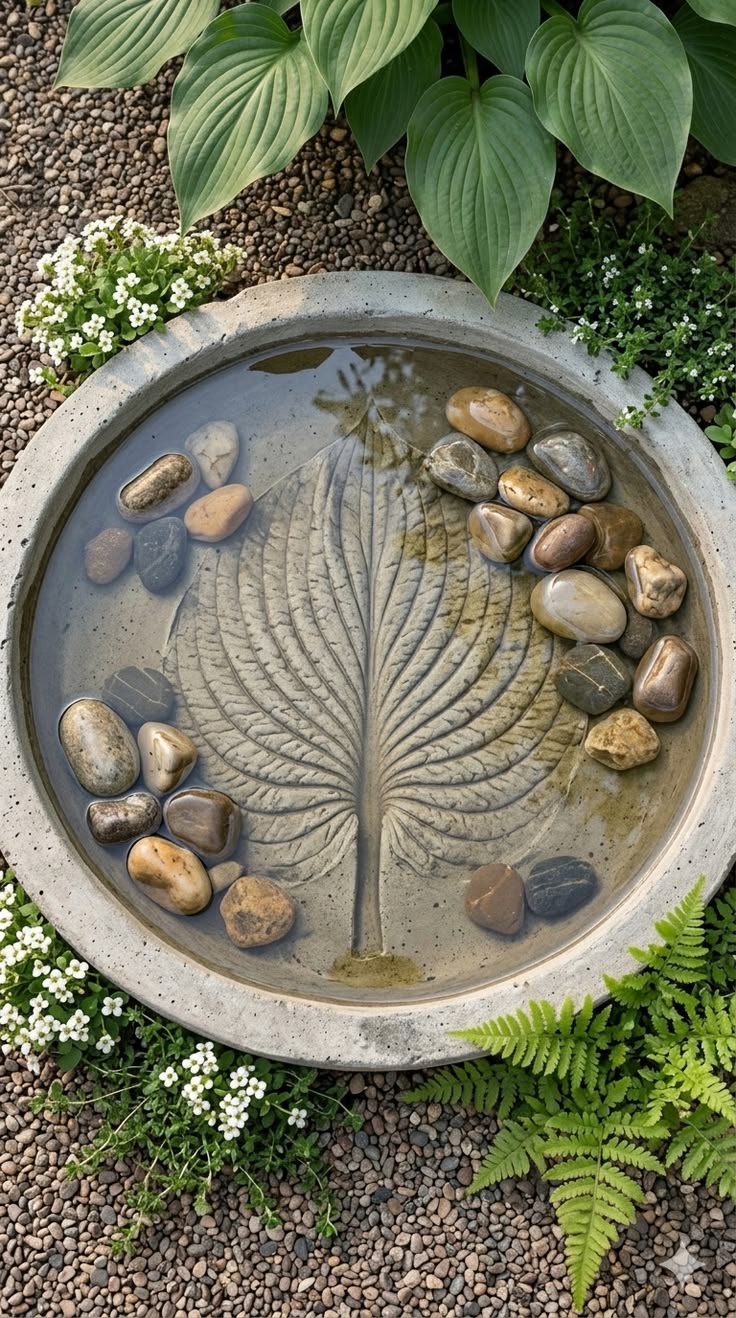
A bird bath is the centerpiece of any wildlife-friendly garden, and a tiered terracotta design brings both form and function to your space. Terracotta is a classic, porous material that develops a beautiful “lived-in” mossy patina over time, perfectly complementing a rustic aesthetic.
The tiered structure creates a dynamic water feature that provides different depths for birds of various sizes—shallow spots for smaller songbirds and deeper basins for larger visitors.
How to Create Your Own DIY Tiered Terracotta Bird Bath
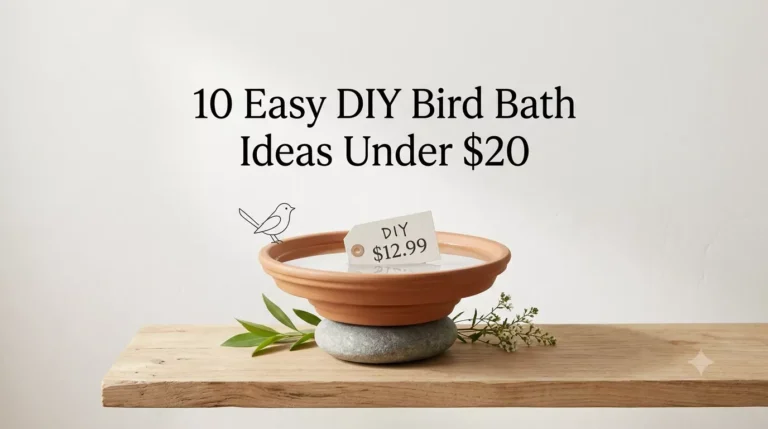
You don’t need to break the bank to create a stunning focal point. Here is a simple, step-by-step guide to assembling your own rustic, tiered bird bath.
- Gather Your Materials: You will need 3 to 4 terracotta pots of decreasing sizes, matching terracotta saucers, a strong outdoor construction adhesive (like E6000), and a large flat base (like a paver stone).
- Clean and Prep: Ensure all pots and saucers are clean and dry. If you want a more “weathered” look immediately, you can lightly distress the pots with sandpaper.
- Create the Foundation: Place your largest terracotta pot upside down on your flat paver stone. This will serve as the stable base for your structure.
- Stack and Secure: Apply adhesive to the top of your base pot, then place the next smallest saucer or pot on top. Continue this process, alternating between pots (if you want more height) and saucers (for the actual baths).
- Let it Cure: Allow the adhesive to cure for at least 24–48 hours, depending on the manufacturer’s instructions, before filling the saucers with water.
- Styling Your Rustic Haven: Surround your new creation with low-growing creeping thyme, ferns, or smooth river stones to ground it in your garden beds.
Elevating Your Rustic Aesthetic
Beyond the bird bath, consider adding other rustic elements to tie the look together. Think about weathered wooden benches, reclaimed metal planters, or even string lights tucked into the branches of a tree to create a cozy, whimsical atmosphere as the sun sets.
1. Tiered Terracotta Bird Bath
- Step 1: Gather 3–4 terracotta pots of decreasing sizes, matching saucers, strong outdoor construction adhesive, and a large paver stone.
- Step 2: Clean and dry all surfaces thoroughly.
- Step 3: Place the largest pot upside down on the paver stone to act as your stable base.
- Step 4: Glue the next size saucer or pot on top, alternating until the stack is complete.
- Step 5: Let the adhesive cure for 48 hours before filling the top saucers with water.
2. Reclaimed Wood Garden Path
- Step 1: Clear the grass from your intended path and lay down landscape fabric.
- Step 2: Sand down reclaimed wood planks or pallet pieces to remove rough splinters.
- Step 3: Lay the planks in a staggered, natural pattern.
- Step 4: Secure the wood into the soil using wooden garden stakes.
- Step 5: Fill the gaps between planks with pea gravel to prevent weed growth and improve drainage.
3. Hanging Succulent Mason Jar Garden
- Step 1: Add a layer of small pebbles to the bottom of clean mason jars for drainage.
- Step 2: Add a small amount of well-draining succulent soil.
- Step 3: Wrap sturdy twine or rustic wire securely around the mouth of the jar.
- Step 4: Hammer heavy-duty nails into a weathered fence or wooden board.
- Step 5: Hang the jars at varying heights and plant your succulents.
4. Rustic Branch Plant Trellis
- Step 1: Find long, sturdy, straight branches (willow or birch work well).
- Step 2: Arrange them in a pyramid or “teepee” shape over a large garden pot.
- Step 3: Bind the tops of the branches together securely using natural jute twine.
- Step 4: Push the bottom ends deep into the soil to ensure stability.
- Step 5: Plant climbing vines like ivy or morning glory at the base.
5. Galvanized Metal Tub Planter
- Step 1: Purchase an old-fashioned galvanized steel wash tub.
- Step 2: Drill 5–10 small holes in the bottom of the tub for necessary water drainage.
- Step 3: Line the bottom with a layer of landscaping stones.
- Step 4: Fill the tub with premium potting soil.
- Step 5: Plant seasonal flowers or herbs, arranging them from tallest in the center to shortest at the edges.
6. Weathered Stone Cairn Garden Art
- Step 1: Select a collection of flat, smooth river stones of varying sizes.
- Step 2: Clean the stones so they are free of debris.
- Step 3: Start stacking them, placing the largest at the bottom and smallest at the top.
- Step 4: Use an outdoor-rated construction adhesive between each layer if you want them to be permanent.
- Step 5: Allow to dry completely before placing in a garden bed for a serene, Zen look.
7. Upcycled Ladder Herb Garden
- Step 1: Source an old wooden step ladder and sand it lightly.
- Step 2: Apply a thin coat of outdoor wood sealer to prevent rot.
- Step 3: Place wooden planks across the steps to create wider “shelves.”
- Step 4: Set small terracotta herb pots on each shelf.
- Step 5: Place the ladder against a garden wall or fence.
8. Wine Bottle Garden Edging
- Step 1: Collect enough glass wine bottles to line your garden border.
- Step 2: Dig a narrow, deep trench along the edge of your garden bed.
- Step 3: Place the bottles upside down (neck down) into the trench.
- Step 4: Backfill the trench with soil, packing it tightly so the bottles stand upright.
- Step 5: Ensure the bottles are uniform in height for a clean, finished look.
9. Rustic Log Stool/Side Table
- Step 1: Find a thick, solid tree stump that is level on both the top and bottom.
- Step 2: Use a wire brush to remove any loose bark or dirt.
- Step 3: Sand the top surface until it is smooth enough to hold a drink or plant pot.
- Step 4: Apply a clear outdoor polyurethane finish to protect it from the elements.
- Step 5: Place in a shaded corner of your garden as a natural, rustic side table.
10. Burlap-Wrapped Planters
- Step 1: Take standard, plain plastic or terracotta pots.
- Step 2: Cut a piece of natural burlap fabric to fit around the circumference of the pot.
- Step 3: Secure the burlap to the pot using a hot glue gun.
- Step 4: Tie a piece of thick twine or raffia around the center for a “finished” bow detail.
- Step 5: Group three pots of different sizes together for a professional, styled Pinterest look.